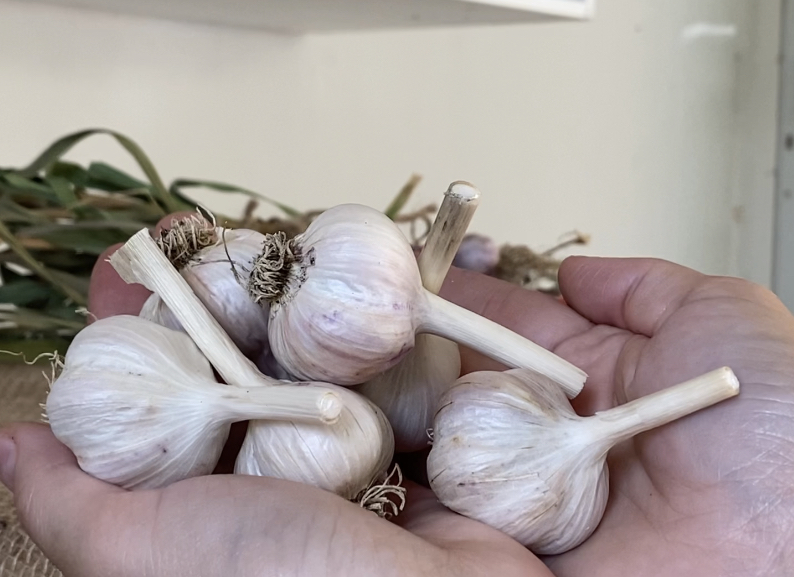
If you find yourself wondering how garlic grows, this post will help you with not only growing garlic but also how to harvest garlic as well!
How To Plant Garlic Cloves

First of all, if you’re looking to learn how to initially plant garlic from cloves, check out my previous post here. Planting garlic is very simple and low maintenance. The only downside is how long it takes from planting to harvest, typically around eight months to mature.
However, it’s nice to know after it is planted in the fall you let it be all winter long outside and come spring you begin to water when the top few inches of soil are dry. That’s it!

Harvesting Garlic
Harvesting garlic is just as easy as planting garlic! There are a few simple steps to take to ensure you harvest your garlic properly.
- Before harvesting, ensure you have not watered the soil in a few days. The soil should be dry upon harvesting. This way, your garlic can dry out faster and helps to reduce potential chances of rot.
- Look at the leaves! Once the bottom 3-4 leaves have yellowed it’s time to harvest! Also, if you have a hardneck garlic variety, it’s time to harvest a few weeks after the scapes have developed.
- Also, you can gently move the soil away from the top of one bulb to see if it has a papery skin developed. If so, it’s ready to harvest.
- Once you’ve identified the garlic is ready do NOT pull the garlic from the stalk. This could damage your garlic.
- Instead, use a trowel to gently lift the garlic roots up around the bulb. This will loosen the roots and help you gently harvest the garlic!
- Gently brush off any loose dirt OR you can leave the dirt on while the garlic cures for a few weeks.

How To Cure Garlic
The last important step after harvesting your garlic is to cure your garlic. When you, “cure” produce it simply means to thoroughly dry prior to storing. This is crucial as you do not want your harvest to rot while in storage.
Typically it takes several weeks for garlic to thoroughly dry out. I had mine hanging in bundles of five in our garlic for a little over two weeks.
However, if you want to eat your garlic right away after harvest you can! No need to go through the curing process if you plan to eat the garlic soon after harvesting.
How To Prepare Garlic For Winter Storage

Lastly, after your garlic has officially dried/cured, it is time to clean it up for final storage! This is very easy and only takes a matter of a few minutes (depending on how many garlic bulbs you harvested).
- Trim off the stock to about 2-3 inches above the bulb.
- Simply peel off the outermost layer (it should already be peeling off by itself).
- Trim off the dried roots and rub off any remaining dirt.
- Place garlic into a mesh bag and store in a cool dry room such as a basement to overwinter.
- That’s it! 🙂
Supplies Used For Growing Garlic
Here are some links below to some products on Amazon I use in case you are interested! If you end up making a purchase I get a tiny commission, so thank you kindly!
Also, Park Seed has some seed garlic for sale online if you are looking for a place to purchase some great garlic.
I also still recommend checking out your local greenhouses, garden centers or farmers markets first to see if you have locally grown garlic to pick from!
This post may contain affiliate links, which means I’ll receive a small commission if you purchase through my link. This is at no extra cost to you and helps me to keep my garden going, so thank you!!
